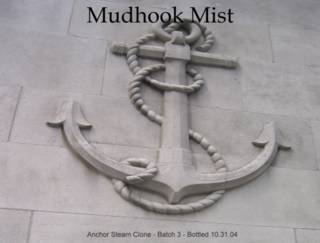
Batch 3 - Anchor Steam Clone
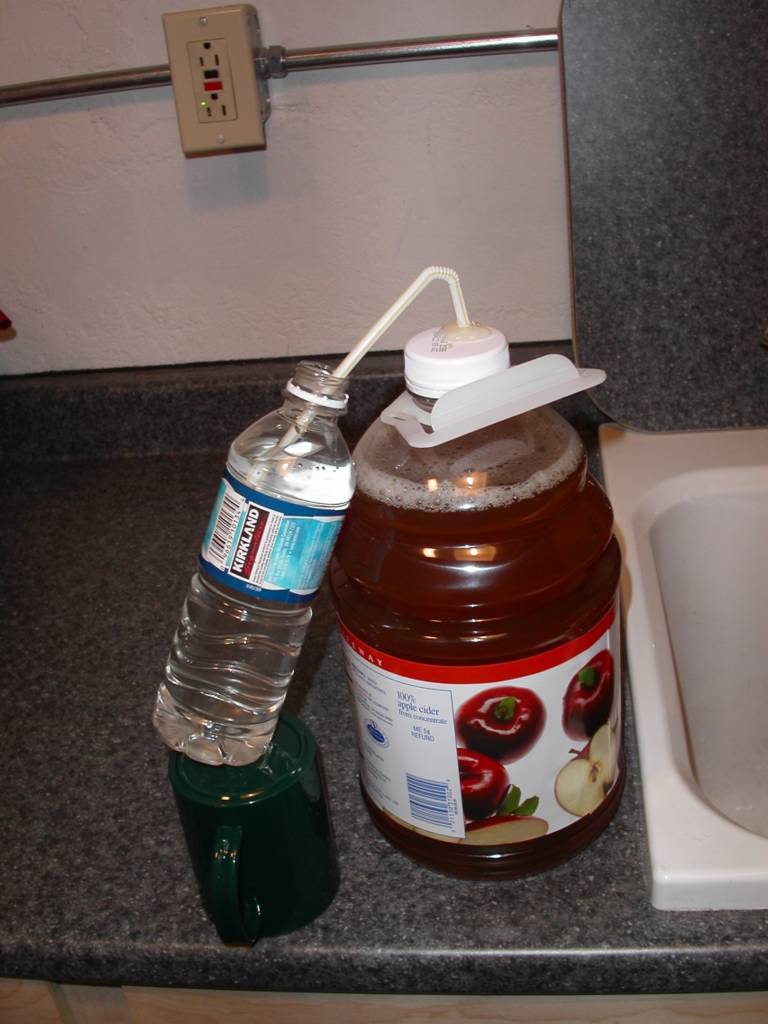
This beer started with this recipe, substituting the type of yeast. Because my pitching temperature was quite low for batch 2, I decided to skip the step of cooling the wort. However, I didn't think to check the temprature to see if this was wise until after pitching my yeast. Turns out I was pitching into 102 degree wort. Afraid for my yeast (a lager, no less), I put the entire bucket in an ice water bath, and it made it down to 70 eventually. After the first day I still didn't see any bubbles, so I added some extra yeast I had saved. After the second day it started bubbling like crazy.
The temperature in my basement is about 60, so I let it sit for about a month until the bubbles slowed down to about nothing. After that it was time for a tasting. Quite afraid of anything from a bananna-tasting beer from the high temperatures to a gym sock beer from bacteria because it took so long to start bubbling, I smelled it and took a sip. It's quite good. Not fruity like I'd feared, no sign of bacteria. It's much better than even the light wheat. I boiled 3/4 cup of corn sugar in some beer and added it, then bottled the batch.
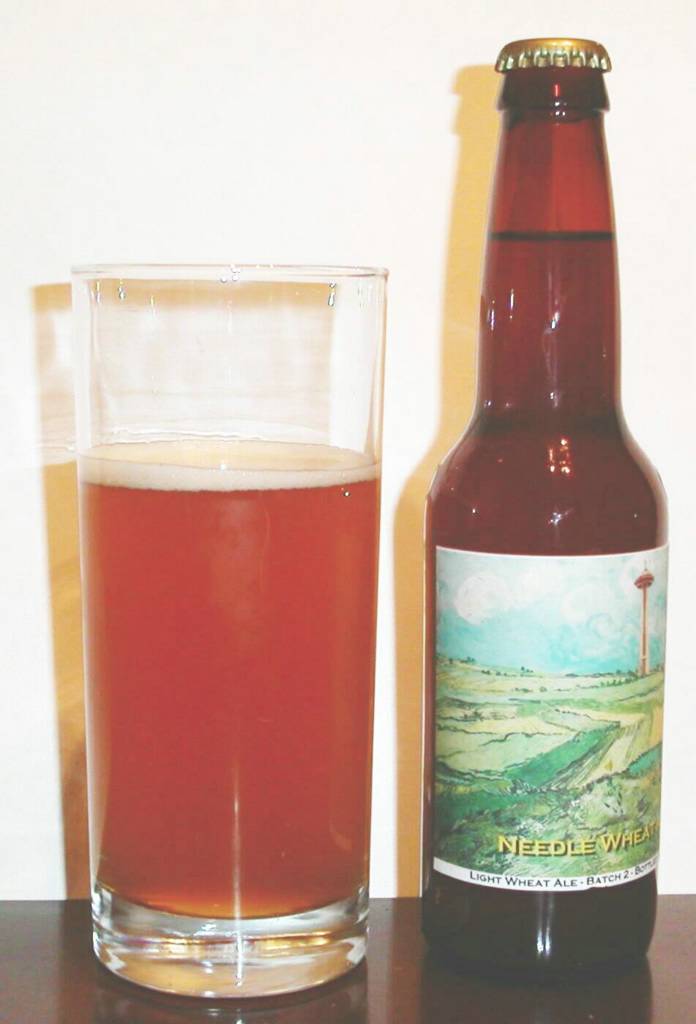
Status: Made about 50 bottles. I love this beer. It's not only good, but it's better than any beer I've tasted. Sure, I'm biased, but it's really great. It's very hoppy, not terribly bitter, and a bit dry. It doesn't suffer from carbonation problems like my last beer.

The temperature in my basement is about 60, so I let it sit for about a month until the bubbles slowed down to about nothing. After that it was time for a tasting. Quite afraid of anything from a bananna-tasting beer from the high temperatures to a gym sock beer from bacteria because it took so long to start bubbling, I smelled it and took a sip. It's quite good. Not fruity like I'd feared, no sign of bacteria. It's much better than even the light wheat. I boiled 3/4 cup of corn sugar in some beer and added it, then bottled the batch.
Status: Made about 50 bottles. I love this beer. It's not only good, but it's better than any beer I've tasted. Sure, I'm biased, but it's really great. It's very hoppy, not terribly bitter, and a bit dry. It doesn't suffer from carbonation problems like my last beer.


posted by Matt at 6:58 PM
0 comments
![]()